
Categories
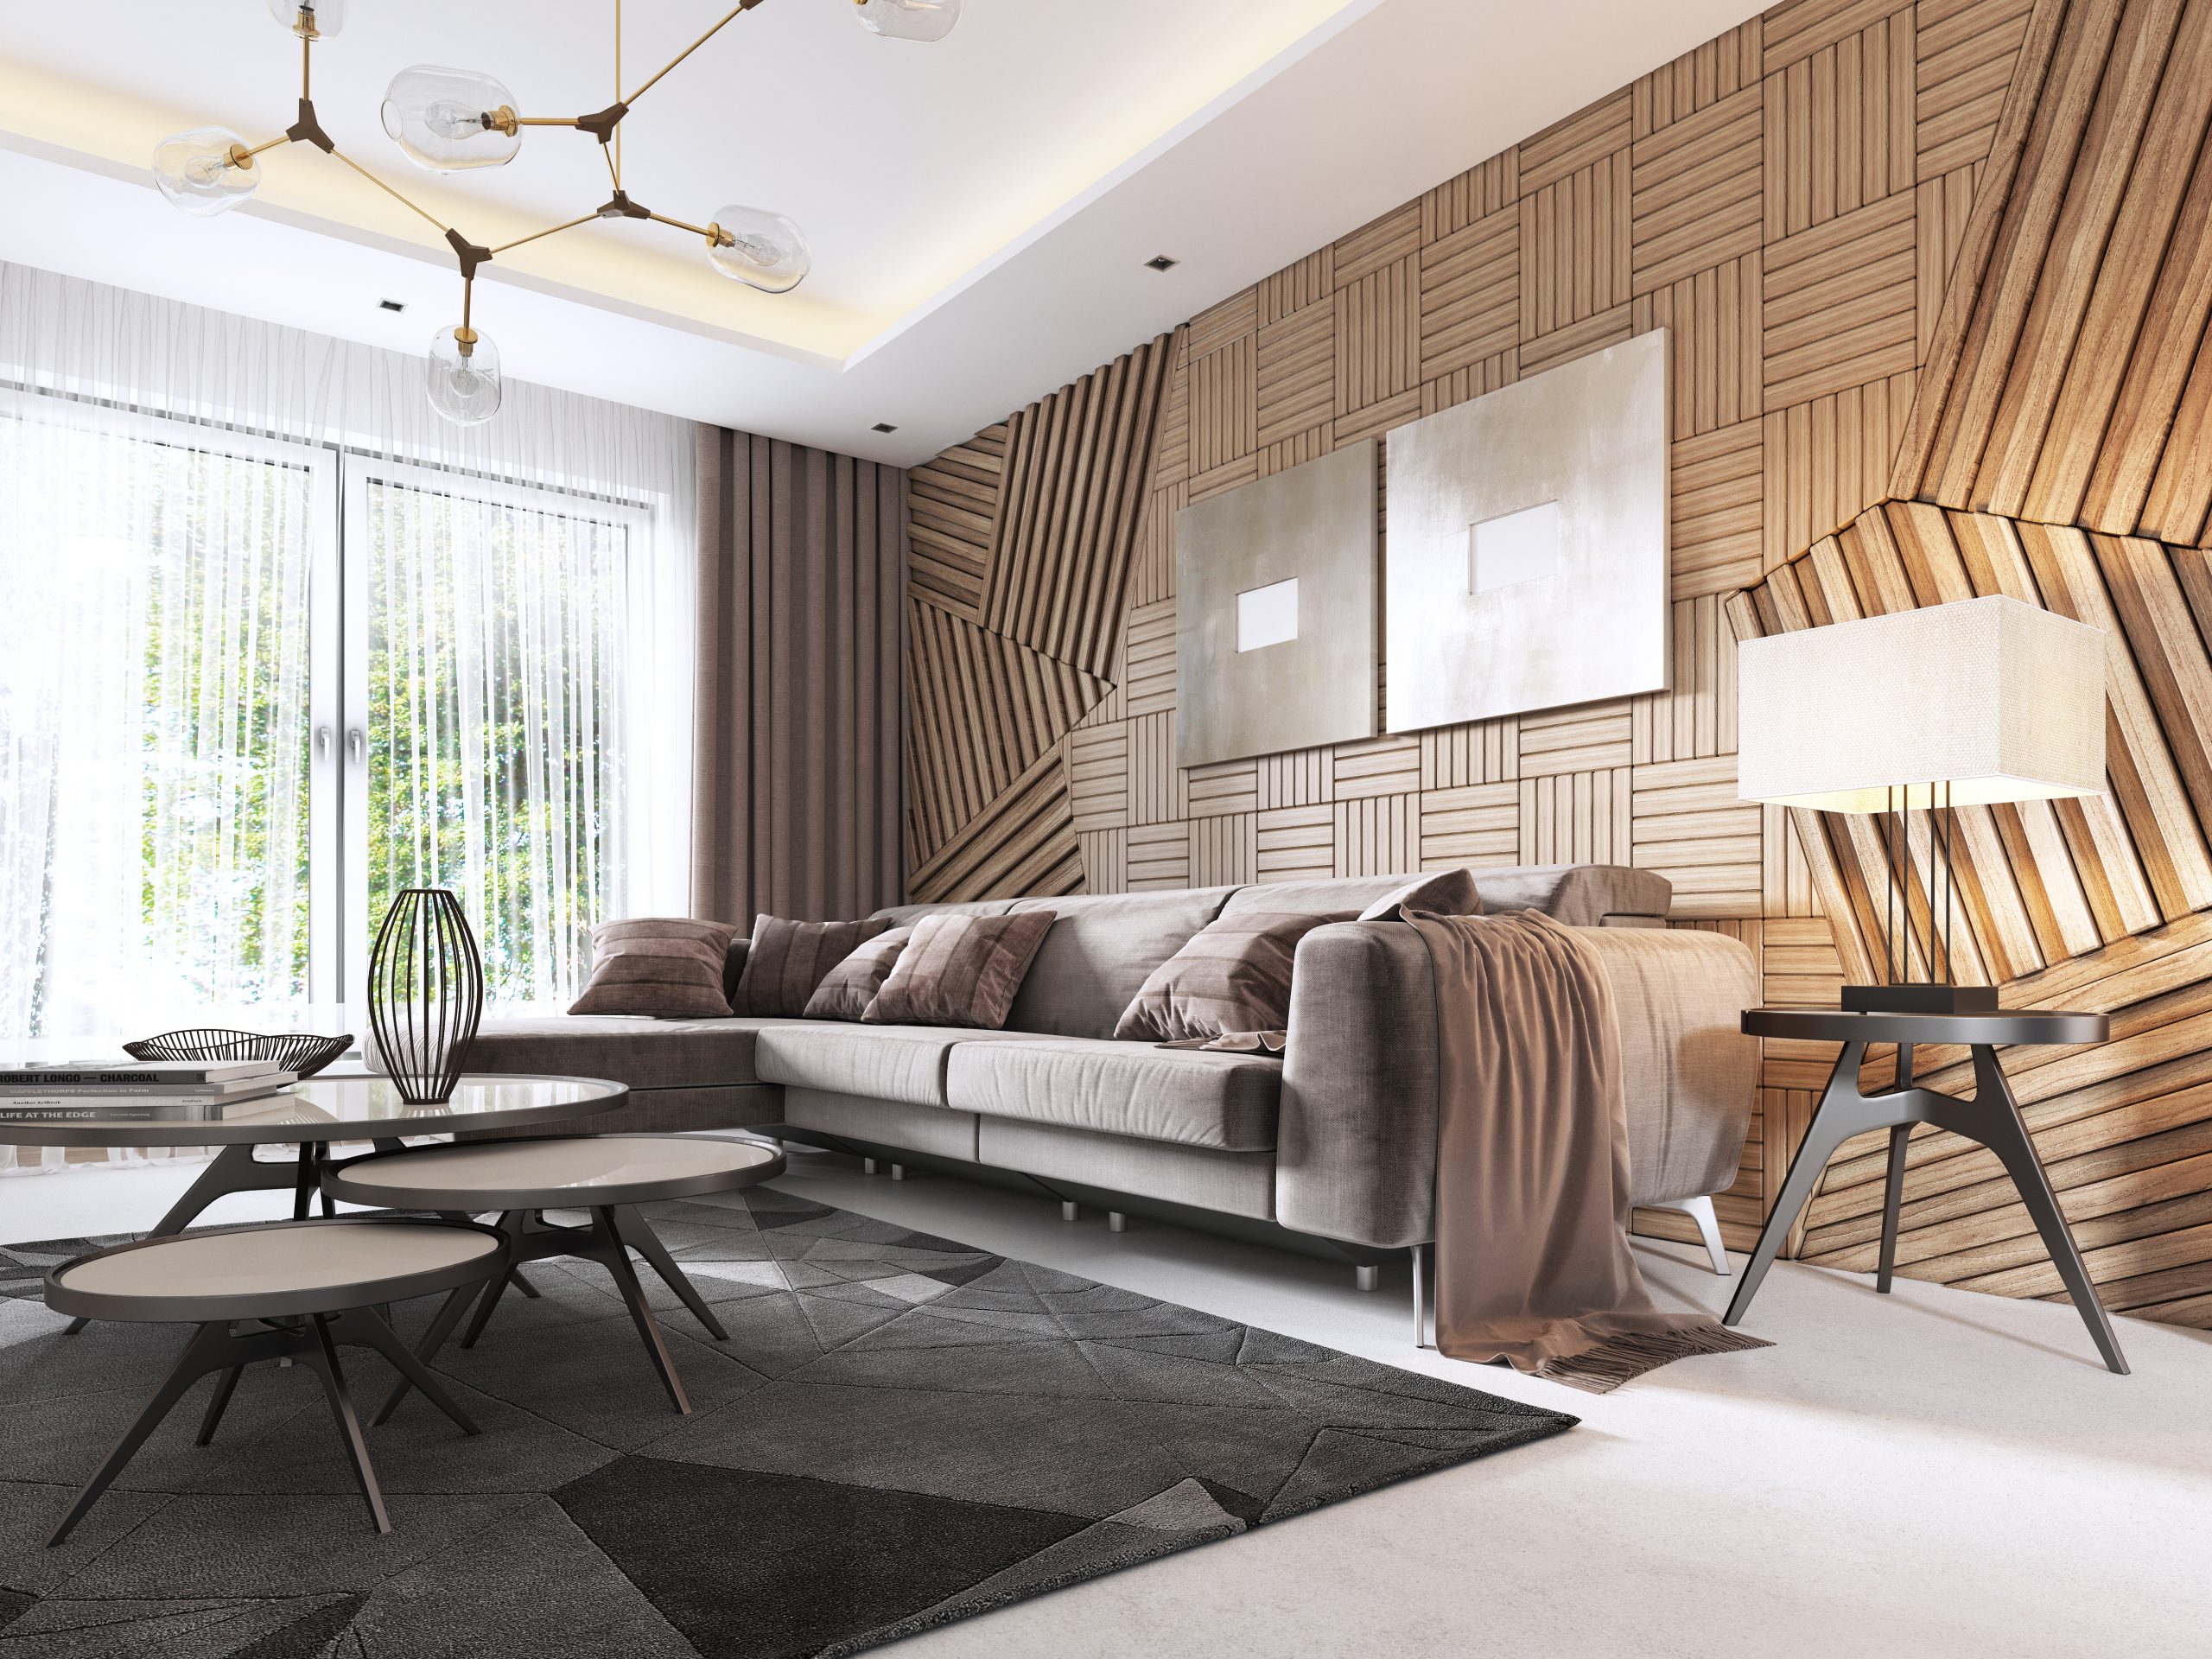
Installing decorative wall paneling can warm and spruce up your drywall. This simple trick can give your walls a natural feel and look. Paneling comes in a variety of finishes and colors, in the form of sheets or boards; but sheets are much easier and more convenient to install. Let’s learn how to install them on drywall and studs.
Remove wall plates
Removal of wall plates, nails and outlets on the walls is the first step that you should take. For desirable results before you install a wall panel, set it in the room, to let it adjust to the temperature and humidity.
Measure the height and width of each wall
Before proceeding with installation, determine the number of sheets required. Calculate the square footage, through measuring the height and width of every wall to be covered. To find out the number of sheets needed, divide the length of the wall by the width of the panel sheets. Ensure that the size of windows and doors is subtracted.
Hang first panel level
Before installing your wall paneling, know that the walls are hardly ever straight. The first panel must be hung level, for the rest of the panels to line up correctly.
If needed, trim to keep panels level
If necessary, use a fine-toothed saw blade to trim the panels, to make them fit or stay level. Ensure that fraying or splitting on the front part of the panel is prevented. To allow for expansion and contraction, cut ¼ inch from the panel.
Cut outlets or openings as required
Use a jigsaw with a fine-edged cutting blade to cut openings in the panel for electrical boxes, wall plates or any required outlets.
Set adhesive on the back side of the panel sheet
Before applying the panel sheet against the wall (after following the previously mentioned steps), apply the adhesive in a wave pattern and then position the panel in place, before pressing it against the wall.
OR
Use the nails for fixing the panels against the wall
Fix the panel to the wall using finishing nails, with the help of a partner holding it against the wall. You can use a stud finder for securing your panels, by finding the studs to nail them into. Continue this process until moldings are attached and the entire wall is covered. Setting the head flush by using a nailset gives a more professional look, so avoid hammering the nails completely in.